Here is the sewing machine cover I made. Before we start the tutorial I want to tell you that my finished product is slightly different than yours will be. I wasn't using my brain enough before I started, but I fixed up the tutorial so you should not have any problem with it! I ran into my troubles when I started to pin the sides, and realized that it would have made much more sense to make the cover more box like for easy assembly! I hope this is clear enough, as it's my first tutorial. Now with that out of the way, let's get started!
First we will need to take measurements of your machine so we know what size to cut the fabric. Measure side to side on the longest part of your machine, round up a bit if you have to. This is the length, mine is about 17 inches.

Next, measure the height of your machine. Mine is 12 inches.

Then, measure the width of your machine along the side at it's widest point. Mine is 7 inches. I didn't take a pic of this, but you get the idea.
Now for the math. My numbers are in brackets.
Top measurements:
Take the height of your machine (12) X 2 = (24) + the width of your machine (7) = (31) + 3 = (34) / 2 = (17) I did this because we are going to make an overlapping handle slot.
Now take the length of your machine (17) + 1 inch [for 1/2 inch seam allowance on either side and a little wiggle room.] = (18)
Side measurements:
Take the width of your machine (7) + 1 inch [again for seam allowance and wiggle room.] = (8)
Take the height of your machine (12) + 1 1/4 [for seam and hem allowance] = (13 1/4)
Cut 2 pieces of fabric your final length (18") by your final height (17") We will call these your front and back pieces.
Cut 2 side pieces your final width (8") by your final height on the sides (13 1/4")
Optional pocket: Cut 2 pieces 6" by 9" I used a different fabric for my pocket for contrast.

We will start be preparing the pocket. Take your 2 pocket pieces and pin them right side together. Mark a 2" space on one of the long sides to leave open for turning your pocket.

Starting at one of your markings, sew around the pocket piece on all sides until you get to the other mark. Clip the corners and turn your pocket piece. Press, being sure that the edges of the fabric in the opening you left are tuned inward.

Set your pocket aside for now and take your front and back pieces. We want to hem the top and bottom of both of these pieces. Take one piece and along the top side (the final length of your machine, mine was 18") fold and press 1/4". Fold 1/2" enclosing your raw edge and press again. Do the same to the bottom of your piece.

Take the other piece and do the same. While you are there, take your side pieces and hem only the bottom, folding 1/4", then 1/2". Take all 4 pieces back to your sewing machine and sew up your hems along the edge to secure.

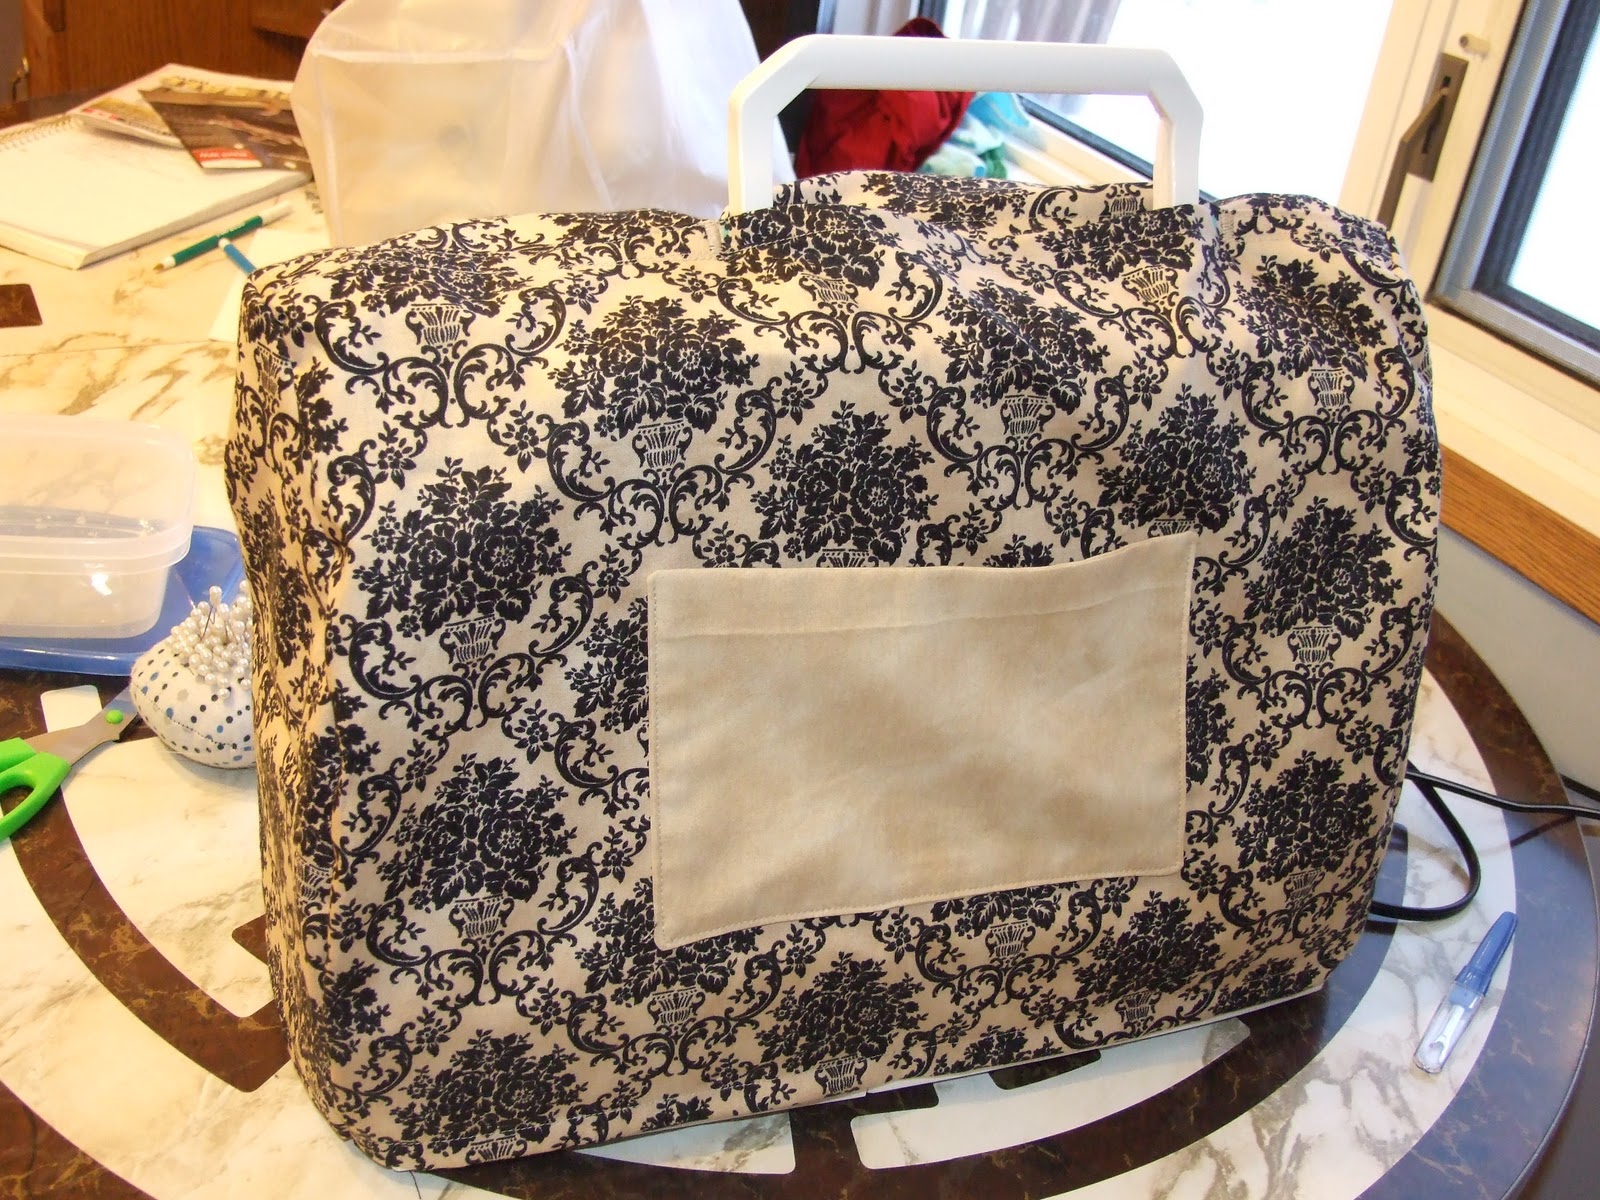
Now it's time to apply the pocket. Take your front piece and place the pocket where you would like it to sit. I placed the bottom of my pocket about 3 1/4" from the bottom edge. Make sure when you position your pocket piece that the opening you left to turn it is on the bottom. Pin your pocket into place.

Sew on the pocket, starting on the top right corner going down the side, across the bottom, and up the other side. Your pocket is done!


Drape your pinned pieces over your machine and put the handle up through the center of the overlapped pieces. Place pins on either side of the handle to determine where you will sew your pieces together. This may take a bit of adjusting. Be sure that your cover is centered on the machine.


I marked the sides of where I want my handle slot with a fabric marker so I could reposition the pins for sewing.

Sew along both edges of your hem so you will have 2 lines of straight stitching on either side of your handle slot. Do a tight zig zag to reinforce the edges of the handle slot. I had my stitch length set to 2.

Pin your sides into place making sure that the right sides are facing. Start at the bottom hem to ensure that it is lined up properly. It might take a bit of playing with the placement around the top corners. I forgot to take a picture of this! Sorry!
When you are happy with how it fits, sew up the seam. Finish the seam with a zig zag stitch or serger.
Turn your cover right side out, place it over your machine and admire your work!
~Kim~
what a great idea!
ReplyDeletehttp://bit.ly/keivahns